FREE SHIPPING On Orders over $400
Subscribe To Newsletter
Subscribe to the MONAG mailing list to receive updates on new arrivals, special offers and our promotions.

According to Virtue Market Research, the Global Embroidery Market is worth nearly $3 billion as of 2023.
But how many people are adding embroidery to their clothing? Personalized embroidery on t shirts is a growing trend, one that's helping individuals and businesses create unique, standout pieces.
Whether you're a beginner or an experienced embroiderer, knowing the right techniques can make all the difference. Today we're taking a closer look into expert tips, from fabric and thread choices to design placement, so you can achieve perfect results every time.
Ready to elevate your t-shirt designs? Let's explore everything you need to know about custom embroidery on t-shirts.
The fabric of your T-shirt plays a major role in the final look of your embroidery. Cotton is one of the most popular choices because it holds stitches well and is easy to work with. It's also breathable, making it a great option for wearability. Polyester is another common material, but it requires more care.
The smoothness of polyester can sometimes cause stitches to shift, and stabilizers are needed to prevent puckering. Blended fabrics can work well too, but be sure to test a small area first to see how the fabric reacts to the stitching.
Choosing the right thread is just as important as picking the fabric. Polyester and rayon threads are popular for t-shirt embroidery because they offer vibrant colors and durability.
Polyester thread is strong and can withstand frequent washing, making it ideal for clothing that will be worn often. Rayon thread, on the other hand, is softer and has a more natural shine.
It works well for delicate designs but might not be as long-lasting as polyester when exposed to heavy wear. Cotton thread can also be used but is better for designs that won't be subject to regular washing or wear.
Before you start embroidering, it's important to prep your fabric. Pre-washing the t-shirt will help prevent shrinkage later, which can distort your design. It's especially necessary for cotton t-shirts.
Once the t-shirt is washed and dried, you'll want to use a stabilizer to keep the fabric from stretching. This step is vital for achieving clean, professional results, particularly when working with stretchy or lightweight fabrics like polyester.
One of the most essential tools for t-shirt embroidery is the embroidery hoop. Hoops are used to hold the fabric tight while you work. It prevents the fabric from bunching or stretching as you embroider.
It's important to use a hoop that matches the size of your design. A hoop that's too large or too small can cause uneven tension, leading to inconsistent stitches. Plastic or wooden hoops are commonly available, but plastic tends to be more durable and easier to work with.
Stabilizers are another key supply for t-shirt embroidery. They help keep the fabric from moving or stretching while you stitch, which is especially important for t-shirts made from soft or stretchy materials.
You can choose from tear-away or cut-away stabilizers, depending on the design. Tear-away stabilizers are easier to remove once the embroidery is done, while cut-away stabilizers offer more long-term support for intricate designs. If you're working with a particularly thin fabric, consider using a thicker stabilizer to ensure stability during the process.
Finally, choosing the right needle is essential for smooth embroidery. T-shirts can vary in thickness, so selecting the right needle size can make a big difference.
Thicker fabrics require stronger, larger needles, while thinner fabrics need finer needles to avoid damaging the material. Embroidery needles are typically available in sizes ranging from 75/11 to 90/14, so having a range on hand can help you tackle different t-shirt types with ease.
Proper preparation is key to successful t-shirt embroidery. Without it, you risk distorted designs or damaged fabric. There are three main steps to take when getting your t-shirt ready:
Before you start embroidering, it's important to mark the area where you'll be placing your design. It ensures your embroidery is positioned exactly where you want it. Many people use water-soluble pens or fabric chalk for this purpose.
These tools allow you to draw a temporary outline which will wash away once you've finished. Be careful not to press too hard when marking, as this can damage delicate fabrics like lightweight cotton. If you're working with a dark-colored t-shirt, using chalk or another light-colored marking tool will make your design easier to see.
Stabilizing the fabric is one of the most important steps in embroidery. It keeps the material from shifting or stretching while you work. Without proper stabilization, the fabric can move during stitching, leading to puckering or uneven designs.
The stabilizer you choose should be based on the type of fabric. For thinner fabrics, such as cotton t-shirts, a medium-weight tear-away stabilizer is often enough.
For stretchier fabrics like polyester, you might need a cut-away stabilizer, which stays with the design even after washing. Applying the stabilizer correctly will help keep your t-shirt steady and your embroidery neat.
Before diving into the main design, it's helpful to test everything on a scrap piece of fabric. Testing helps you catch any issues with the thread tension, needle size, or stabilizer before committing to the final t-shirt.
If you don't have a spare t-shirt, testing on a similar material works just as well. This step can save you from making avoidable mistakes, like using the wrong thread color or realizing your design is too large for the chosen spot on the shirt. Testing ensures when you do start embroidering on your t-shirt, the final result will look just how you imagined it.
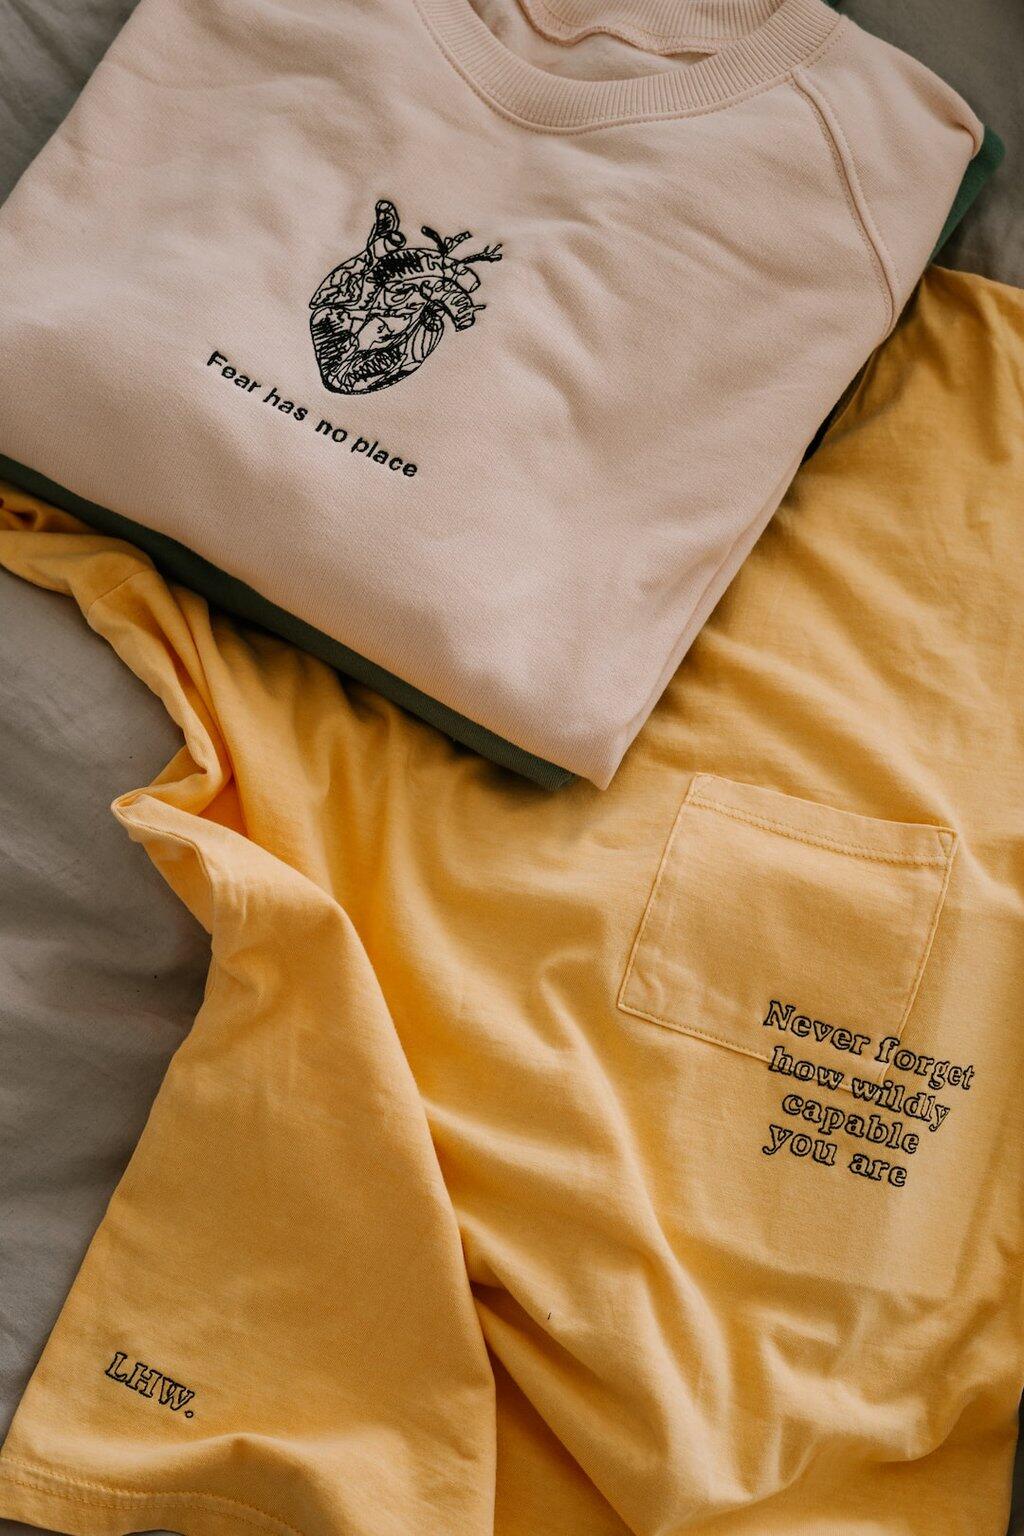
The design you choose should complement both the fabric and the style of the t-shirt. T-shirts, especially those made from cotton or other soft materials, tend to work best with simpler designs. It's because intricate patterns with too many details can be overwhelming on soft, casual fabrics.
Simple patterns with clear shapes and clean lines are often more effective on t-shirts. Think about the purpose of the design, whether it's for a brand logo, a statement piece, or a decorative element. Simple patterns also tend to stand out more, making them an excellent choice for everyday wear.
Sometimes, the perfect design might not exist, and you'll need to modify an existing pattern. It's common when working with t-shirts, as the material is more flexible than other fabrics.
When modifying a pattern, it's important to adjust it to the size of the t-shirt and the placement you've chosen. Enlarging or shrinking designs is easy with basic embroidery software, and small changes can make a big difference in how the final product looks.
If you're adding text, be sure it's large enough to remain legible without dominating the design. Customizing existing patterns allows for flexibility, especially if you're working on t-shirts for multiple occasions.
There are many online tools and software that allow you to create custom embroidery patterns or adjust existing ones. The programs often let you choose your own colors, resize elements, and test how the design will look on different fabric types.
Some tools even offer a preview of how the design will appear on a t-shirt, which helps avoid issues before you start stitching. If you're looking to create truly unique designs, investing time in learning these tools is well worth it.
If you're new to embroidery on t-shirts, it's best to start with the basics. Some of the simplest stitches include the backstitch, running stitch, and satin stitch.
The stitches are easy to learn and can be used for various designs. The backstitch is great for outlining letters or shapes, while the running stitch is ideal for creating simple lines or borders.
The satin stitch, which is used to fill in areas, is a little more advanced but still manageable for beginners. By focusing on these basic stitches, you'll gain confidence in your abilities while creating clean, polished designs.
Once you're comfortable with the basics, you can move on to more advanced techniques like the French knot, chain stitch, and split stitch. The French knot is a decorative technique that adds texture and depth to a design.
It works well for small accents like flowers or eyes in a design. The chain stitch is another advanced technique that creates a raised, textured effect, which is perfect for creating borders or outlines that stand out. The split stitch offers more detail, allowing for smoother curves and cleaner edges, making it ideal for more intricate designs.
When it comes to embroidering t-shirts, both hand embroidery and machine embroidery have their benefits. Hand embroidery allows for more creative freedom and gives the final product a personal, handmade touch.
It's slower, but it's perfect for small projects or one-of-a-kind designs. Machine embroidery, on the other hand, is faster and more precise. If you're working on larger projects or need to make several t-shirts with the same design, machine embroidery might be the better option.
Many machines allow you to upload custom designs, making it easier to replicate intricate patterns. Each method has its advantages, so the choice depends on the project and your preferences.
The size of your embroidery design should fit the proportions of the t-shirt. If the design is too large, it can overwhelm the fabric, while a design that's too small may get lost in the overall look of the shirt.
A large chest piece or back design works well for statement embroidery, while smaller, subtle designs are better suited for logos or personal touches. Consider the wearer's body size too.
A design that looks great on a small t-shirt may seem out of place on an extra-large shirt. Taking these factors into account ensures your design enhances, rather than distracts from, the t-shirt.
Different styles of t-shirts call for different embroidery placements. For example, a crew neck t-shirt offers plenty of space for a design across the chest or back. V-neck t-shirts, on the other hand, may require more careful placement to avoid interfering with the neckline.
Sleeves are another option for embroidery, adding a unique touch that stands out without taking up too much space. If the t-shirt has any patterns or prints, you'll also want to avoid placing the embroidery where it might clash with the fabric design.
Your embroidery should feel balanced with the rest of the t-shirt. If you're adding a large design to the front, it may be worth considering a smaller design on the sleeve or back to even out the look.
For t-shirts that already have text or logos, you'll need to make sure your design doesn't overwhelm or distract from those existing elements. Keeping the design proportional to the size of the t-shirt and other features will help create a polished and cohesive final product.
By focusing on size, style, and balance, you can place your embroidery in a way that enhances both the t-shirt and the design itself. It will ensure that your custom t-shirt looks professional and thoughtfully created.
Embroidery on t shirts offers endless possibilities for personalization and creativity.
At MONAG Apparel, we're experts at creating premium quality blank apparel for children and adults. Using our state-of-the-art equipment, we can cater to your style, designs, color, and fabric specifications. We also strive to create and distribute eco-friendly, stylish, comfortable clothing for the entire family.
Get in touch today to find out how we can help with your apparel needs!