Ruffle Tees: Printing and Embroidery Placement
In this guide
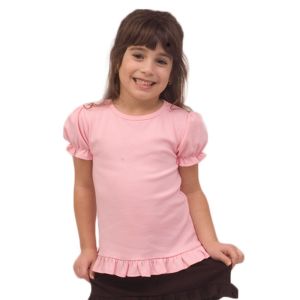
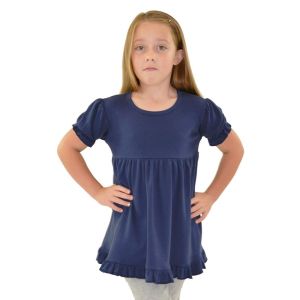
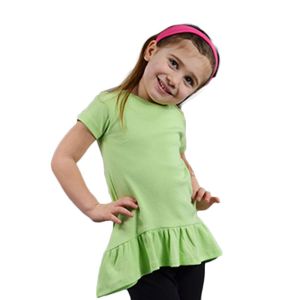
Ruffles add shape and movement to a tee, but they also reduce the flat area available for decoration. A successful design works with those details instead of covering them or forcing artwork into a space that is too small.
Measure the usable front panel
Lay the tee flat without stretching it. Identify the area between the neckline, side seams, and ruffle attachment. Use the smallest size in the order to establish a workable artwork size, then check the largest size for visual balance.
Choose a clear focal point
A short name, a simple illustration, or a small motif can complement the garment's shape. Fine lines and long phrases may become difficult to read when reduced. Use a full-size proof to review the design rather than judging it only on a large screen.
Protect gathers during decoration
For heat application, use a compatible transfer and a setup that keeps raised seams from interfering with pressure. For embroidery, support the knit appropriately and avoid stretching the fabric while hooping. Do not flatten decorative ruffles simply to accommodate an oversized design.
- Check the fabric composition before choosing the process.
- Keep lettering clear of gathered seams.
- Inspect the reverse for rough backing or excess stitching.
Approve the garment after washing
Follow the garment care label and the decoration supplier's compatible instructions. Check whether the body and ruffles retain their intended shape and whether the decoration remains flexible. Save a placement specification for each size group. This gives a repeatable result without relying on a seasonal trend claim or a single generic layout.


Related Products