

How to Choose Blank Baby Bibs for Printing and Embroidery
In this guide
Choose a blank baby bib by its fabric, construction, closure, and usable decoration area, then test the intended print or embroidery on a sample. A bib must still function well after customization. Check how decoration changes the surface, flexibility, reverse side, and laundering requirements before using the same design across a larger batch.
Compare the actual bib construction
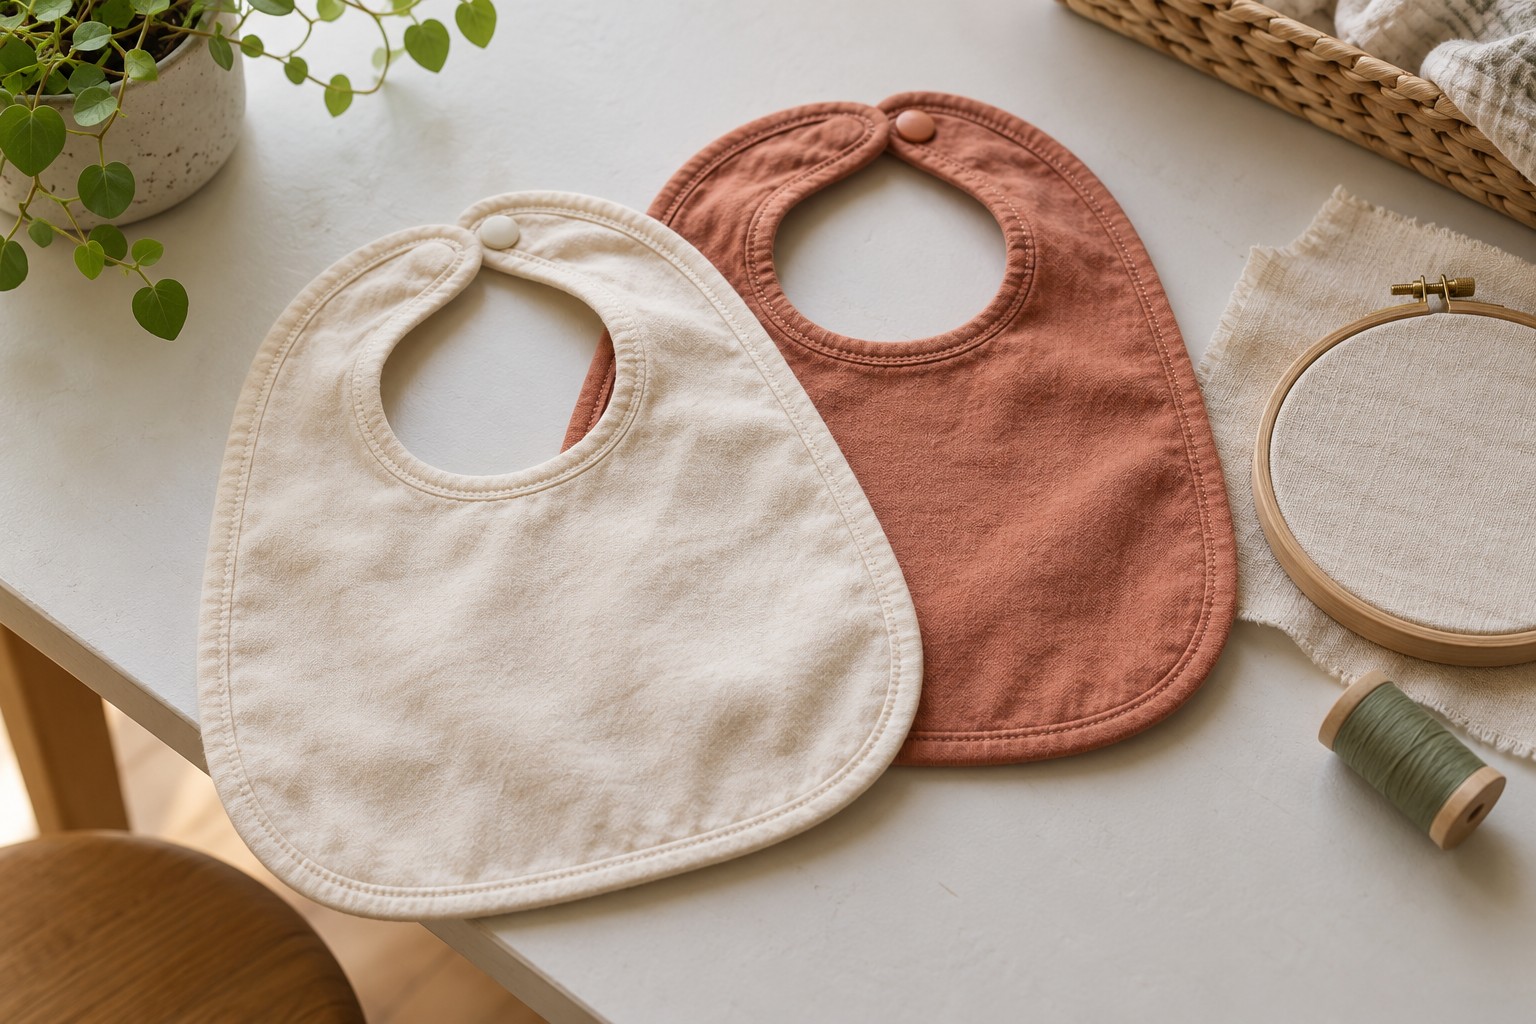
The MONAG baby accessories range includes several bib styles, such as organic cotton, interlock, ruffle, and bandana options. These names describe different features, so inspect each product's specifications rather than assuming that all bibs have the same fabric or number of layers.
A larger-looking bib may have less usable design space once you account for the neckline, binding, and curved edges. Likewise, an extra layer changes the construction but does not by itself establish a measured absorbency level. Evaluate the blank for its intended use before focusing on appearance.
Choose the decoration method
| Method | What to evaluate | Sample check |
|---|---|---|
| Printing or transfer | Fabric compatibility and the effect of coverage | Surface feel, flexibility, adhesion, and care results |
| Embroidery | Stitch density, stabilizer, and reverse-side finish | Puckering, stiffness, and loose thread ends |
| Appliqué | Added layers and secure construction | Edge finish, bulk, and laundering behavior |
A small motif can be more practical than filling the entire front. Large printed areas may change the feel and behavior of the covered surface, while dense stitching can make a flexible blank feel stiff. Approve the finished sample rather than relying on a digital preview.
Map the usable design area
Lay the bib flat without stretching it. Mark the intended decoration area on a removable template and leave room around binding, closures, and seams. Check that the design remains visually centered when the bib takes its normal curved shape.
For names, approve the longest likely text as well as a short example. Shrinking every long name to fit one fixed box can make lettering unreadable. Set a clear personalization limit or offer a second layout. Our artwork sizing guide explains how to document these variations.
Test the finished bib, including the back
- Record the exact blank, decoration materials, and equipment settings.
- Inspect the front and reverse for loose threads, rough edges, puckering, or unwanted adhesive.
- Confirm that the closure still works and the fabric moves as intended.
- Wash and dry using a method supported by the garment and decoration instructions.
- Compare the result with an undecorated sample where practical.
Keep detachable embellishments out of the design plan and follow the product's use instructions. Decorative appearance is not evidence of product safety or suitability for every situation. For laundry planning, see care for printed and embroidered apparel.
Present custom bibs clearly
Show the actual finished item, including a reverse-side view when embroidery affects it. State the style, fabric information from the product specifications, personalization limits, and care instructions. If it is part of a baby gift set, list the included pieces and their individual sizes instead of using one ambiguous bundle size.
Frequently asked questions
Is a two-ply bib always better for embroidery?
No. Layer count is only one factor. The fabric, design density, stabilizer, and finished reverse side all matter. Test the exact construction you intend to sell.
Can the print cover the entire bib?
That depends on the garment and process, but broad coverage can change the fabric's feel and function. A smaller approved design may better preserve the qualities that made the blank useful.
Do organic cotton bibs need different artwork?
Not automatically. Base the production method on the actual fabric and construction, and verify the individual product's claims before describing your customized item as organic.

